A child’s book, saving plastics and restarting prints
Oct-2020
During this summer semester, in the Fab Lab Siegen there was a printer constantly saved for testing. The printer called “hades” had a quest. To be test-object for a child’s book.
But what does a child’s book have to do with highly experimental plastics saving techniques? lets look back.
During the summer-semester I decided to develop a child’s book for 3D printing. together with a fellow student C. Ajiboye this became a handbook. On the one side it told the story of Ursa, a small girl that learned 3D printing by doing. On the other side there were explanations, like reasons for the problems Ursa runs into and possible solutions for them.
However, the last page was something special

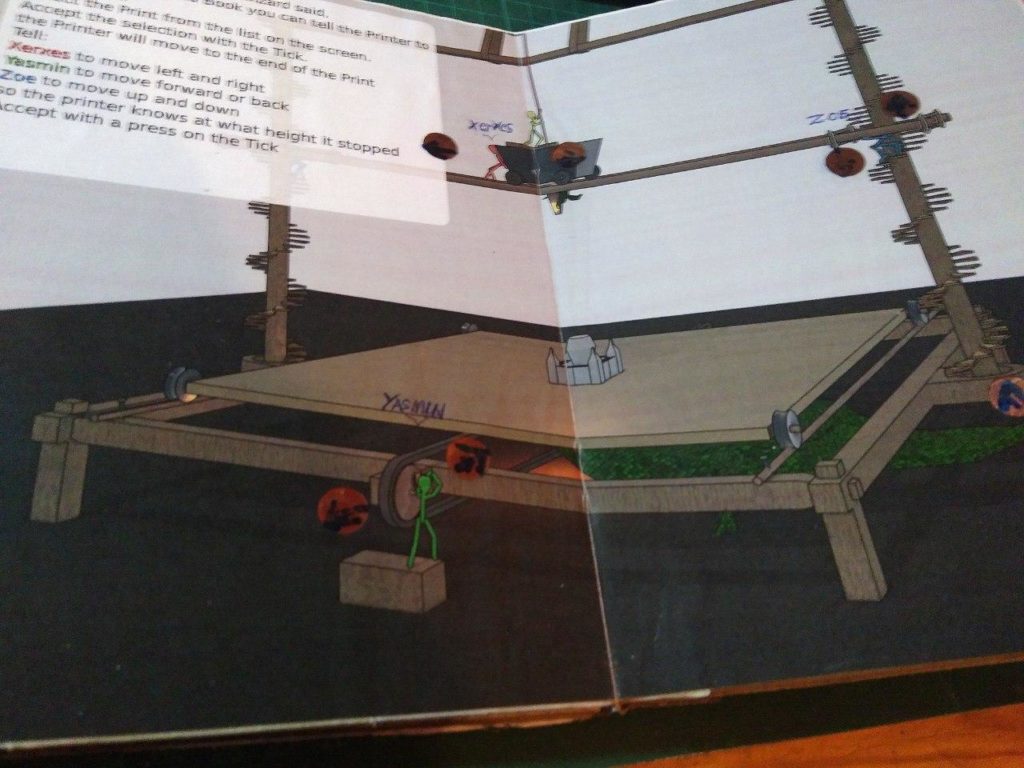
In this page was a WIFI-capable (ESP32) microcontroler embedded. This was able to feel through it’s touch pins, if someone had touched it’s pins. I then soldered those pins to copper pads, and hid them underneath the paper. A quick cnc lasercut later, those pads where shining through.
Thanks to those pads it was now possible to give the ESP32 commands and thanks to the Octoprint server it was then possible to give the Printers commands. Yes, you are reading that correctly, this book has a remote control for a 3D printer embedded.
But why?
Restarting a 3D print is not an easy task. currently not one of the numerous Octoprint plugins tries to achieve this, this has one consequence: If a 3D print fails beyond recovery and no sensor notices, you sometimes loose days of work and kilos of plastics. With this book, this could be stopped.
A book has a couple of benefits: it is quickly at hand, it is often where you want it to be and the software does not change much. Also it does not take long to start up and it does not need to be configured every start, the interface is just there.
But how?
A 3D print is stored in machinecodes. this “GCode” is split up line by line and executed line by line. So a group of those lines make up a layer in the print since a print most likely done layer by layer. If one of those 3D prints fails, you could instruct the printer to restart the print from a certain point once it is working again.
From where is a question that in the file and and on the real print is defined by the exact height. This height can be measured, but with a ruler or by eye you measure it highly inaccurate. With a 3D printer on the other hand, you can figure out the exact height using the printer as a ruler. similar to calibration, you can find it down to 0,1mm exact where a print failed using a piece of paper. You move the nozzle above the failed print and then slowly move the nozzle down, feeling with a piece of paper from where the nozzle would touch the print.
The printer then knows, if it was still homed, exactly where the nozzle is on the printer. Using this height, the GCode is split, the initial steps are still executed, and then the printer prints on as if nothing ever happened.
I want that!
after this semester i found the time to develop this project as a plugin for Octoprint. this way you do not need the Book and you can try it out in a web interface. But CAREFULL! This plugin is highly experimental, and has already damaged it’s first printer. I do not give a warranty or take responsibility for anyone using this and damaging something. I recommend always hovering a hand above the emergency off button until the first layer started printing and you are sure it is printing the right layer